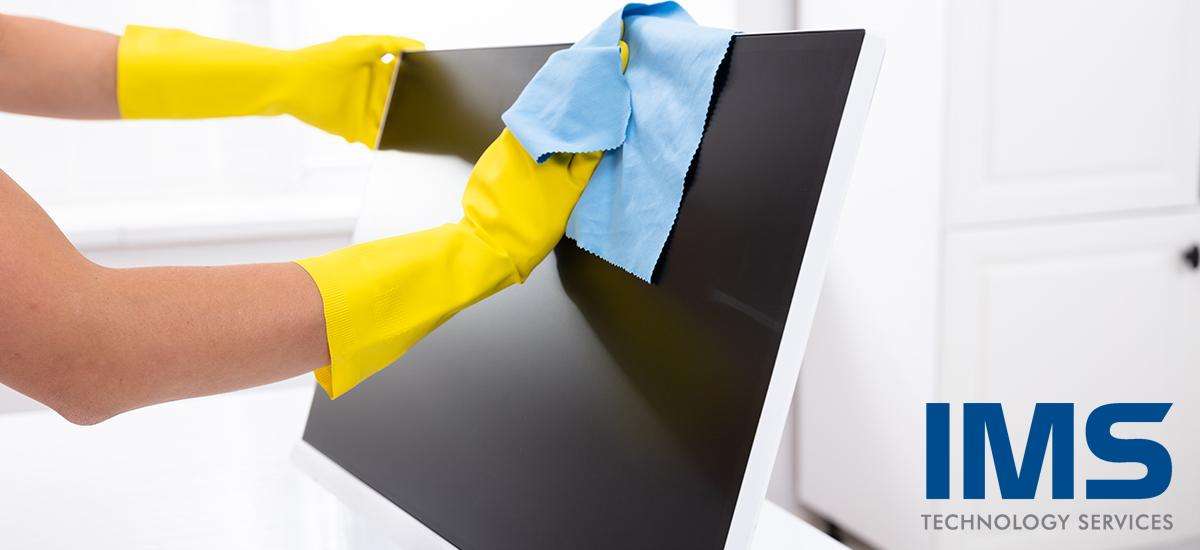
Cleaning Instructions: Monitors, Touch Panels, Microphones

May clients are requesting cleaning instructions for the monitors, displays, touch panels, dynamic microphones, and condenser microphones in offices and conference rooms. Below are general guidelines for equipment cleaning, but be sure to also check your manufacturer's recommended cleaning instructions for your specific equipment.
Cleaning Monitors or Displays
Never use alcohol or ammonia based cleaning fluid on your screen. Ammonia based cleaners (like Windex) and alcohol based cleaners can strip anti-reflective coatings causing clouding or other damage.
Never use paper towels or general purpose cleaning rags, as they are abrasive at the microscopic level and can cause buff spots or small scratches on the displays screen.
Cleaning Process:
- First, prep your screen for cleaning by making sure your display or monitor is turned off.
- Use compressed or canned air to blow off any loose dust or dirt before touching the screen. This prevents small scratches on the screen itself.
- Lightly wipe the screen using a dry and clean microfiber cloth. Avoid making circular buffing motions. Clean with a slow and gentle touch moving in as broad of a motion as you can either from left to right or up and down.
- For a screen with stubborn dirt, a dampened microfiber cloth using distilled water can be used wiping in the same motion as described above. In severe cases, a mixture of 50% white vinegar and 50% distilled water may be applied to the microfiber cloth.
Cleaning Touch Panel Interfaces / Room Schedulers
Shut the system down before cleaning. Not shutting down could potentially cause many button pushes and disrupt the system. Unplug the touch panel if possible (not applicable to wireless panels)
As with monitors and displays, avoid using abrasive cloths like paper towels or general purpose cleaning rags
Cleaning Process:
- Using a solution of 70% isopropyl alcohol and 30% distilled water, dampen a microfiber cloth until damp but not wet.
- Gently wipe all exposed surfaces including the screen itself. If water marks appear, remove by gently wiping with a clean dry microfiber cloth.
Cleaning a Dynamic Microphone (Such as a Shure SM58)
Do not use harsh detergents such as bleach or strong disinfectants as they can damage your microphones finish or eat away the foam components of the microphone.
Cleaning Process:
- Remove the grill
- For most microphones, this is done by simply unscrewing the ball or grill from the handle portion.
- Note that not all mics have removable grills. Do not try to force the grill off or you could cause damage to the mic. Make sure that ONLY the grill is rotating. Call IMS if you need assistance.
- Pull the foam out of the ball or grill. Use water and dishwashing liquid to clean the foam, rinse, set aside and let dry
- Clean the grill using a solution of dish detergent and water as a mild disinfectant. If there is material stuck in the grill, you may use a toothbrush with soft bristles to get any stuck debris from the grill. Rinse and let thoroughly dry
- Use a damp rag with a dishwashing liquid and water solution to wipe down the microphone body, using caution not to get water into the mic or onto the mic cartridge.
- Allow all components to fully dry before attempting to put the microphone back together
Cleaning Condenser Microphones (Such as a Lavalier or Gooseneck)
Never use any liquid for cleaning condenser microphones. Even a small amount of liquid may damage the microphone element
Cleaning Process:
- Hold the microphone upside down and use a soft dry brush to clean out any debris (Holding the mic upside down allows any dirt or debris to fall away from the microphone).
- If the mic has a windscreen (Such as a Lav or gooseneck) you can remove it from the mic and clean it with water and dishwashing liquid allowing it to fully dry before putting it back on the mic.
- The cable on a lavalier mic can be cleaned using a damp rag containing a dish detergent and water mixture.
Schedule a Conversation
Do you need help with equipment cleaning recommendations, or ensuring your office systems are ready for employees?
Share This Article
Categories
Latest Posts

Technology That Keeps Residents Engaged, Connected, and Safe

IMS Closes Out 2025 with Major Industry Awards, Looks Ahead to 2026

Philadelphia 2026: Is Your Venue Ready for the Spotlight?

Scalable AV Infrastructure for Life Science Enterprises

Extend Your Reach: The Power of Virtual and Hybrid Events
Tags
Contact Us
- Headquarters: 3055 MCCANN FARM DRIVE, GARNET VALLEY, PA 19060
- Event Staging: 2000 COLUMBIA AVENUE, SUITE 300, LINWOOD, PA 19061
- Southeast Office: 404 SUNPORT LANE, SUITE 350, ORLANDO, FL 32809
- Phone: + 610-361-1870
- Contact Us
Services
Recent Posts

Technology That Keeps Residents Engaged, Connected, and Safe

